 .
. Create a Basic Form (individual format)
A Basic Form can be created by accessing the Admin | Forms screen and clicking on the ![]() icon. Next you need to switch to the Form Settings tab .
icon. Next you need to switch to the Form Settings tab .
Forms default to the Form Builder. Once a form is created, you rarely need to change the Form Settings unless you are changing the opening/closing time.
In this section we are going to create a form called "Classroom Application Basic" that uses an individual format. Typically, a row will contain a title or header followed by a value or an entry.
For creating list-formatted forms refer to Creating a Basic Form (list format).
STEP 1 - Enter General Form Information
As shown in Adding a Form, the following information must be specified before individual entries can be defined.
Name: "Classroom Application Basic"
Description: "Tell Us About You"
View Permission: "superuser, Applicant, Reviewer, Staff"
Modify Permission: "superuser, Staff"
Parent: None
Position: "1"
Document Count: "1"
Format: "individual"
Type: "basic"
Once the general form information is entered, click on the ![]() icon to create the form.
icon to create the form.

Notice that this form has no Parent and therefore is the root form.
The form will be page 1 of the document, as specified in Position.
Finally, the user will be able to create one form of this type, as indicated by the value 1 in Document Count.
STEP 2 - Define Form Entries
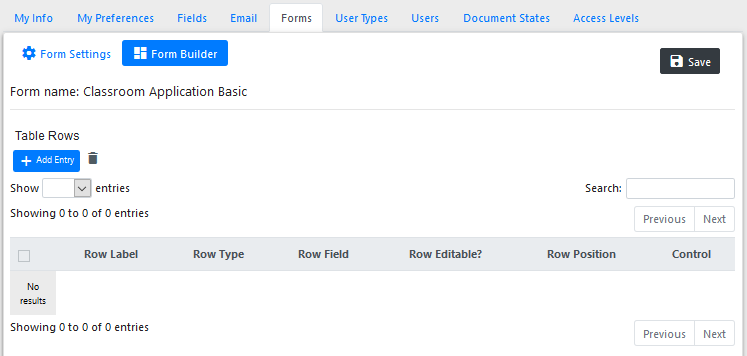
Once the Basic Form has been created, it will be added to the list of forms in the Admin | Forms screen. At this point, entries can be defined and added to the form.
To add entries, click on the ![]() icon in the Control column to edit the newly created form.
icon in the Control column to edit the newly created form.
To add a row, click on the ![]() icon and define the following information:
icon and define the following information:
![]() Header/Title - the entry name, displayed as the first column/row or, in the case of a title, as the row.
Header/Title - the entry name, displayed as the first column/row or, in the case of a title, as the row.
![]() Entry Type - value | field | filter score | html | hidden field | title only | horizontal line |contributor | multi-access field | start columns | break columns | end columns | repeat start | repeat end | save button |document action
Entry Type - value | field | filter score | html | hidden field | title only | horizontal line |contributor | multi-access field | start columns | break columns | end columns | repeat start | repeat end | save button |document action
![]() Value - the entry will display the value of Source Field.
Value - the entry will display the value of Source Field.
![]() Field - the entry will collect the value of Source Field.
Field - the entry will collect the value of Source Field.
![]() Filter score - the entry will display the score of Source Filter.
Filter score - the entry will display the score of Source Filter.
![]() Html - the Header/Title will simply be copied into the page without any format or filtering.
Html - the Header/Title will simply be copied into the page without any format or filtering.
![]() Hidden field - the entry will collect the value of a pre-defined field, but will hide what the user types.
Hidden field - the entry will collect the value of a pre-defined field, but will hide what the user types.
![]() Title only - the entry will display the Header/Title only.
Title only - the entry will display the Header/Title only.
![]() Horizontal line - will insert a line for use as a visual break
Horizontal line - will insert a line for use as a visual break
![]() Contributor - the entry will collect the contributor's information (name and email)
Contributor - the entry will collect the contributor's information (name and email)
![]() Multi-access field - the field can be accessed by multiple users.
Multi-access field - the field can be accessed by multiple users.
![]() Start columns - used to display entries in column fashion.
Start columns - used to display entries in column fashion.
![]() Break columns - used to handle a different column width.
Break columns - used to handle a different column width.
 End columns - used to display entries in column fashion.
![]() Repeat start - used to display entries with multiple values (e.g. universities applied for)
Repeat start - used to display entries with multiple values (e.g. universities applied for)
Repeat end - used to display entries with multiple values.
![]() Save button - used to display the save icon button.
Save button - used to display the save icon button.
![]() Document action - allows users with permission to change the state of a document.
Document action - allows users with permission to change the state of a document.
![]() Source Field / Source Filter - the name of the field or filter that will provide the value for the entry, if applicable.
Source Field / Source Filter - the name of the field or filter that will provide the value for the entry, if applicable.
![]() Default Value - the default value for the entry, if any.
Default Value - the default value for the entry, if any.
![]() Edit Control - Read Only | Read/Write | Required | Read Only - Add.
Edit Control - Read Only | Read/Write | Required | Read Only - Add.
![]() Read Only - the entry can be viewed, but not modified.
Read Only - the entry can be viewed, but not modified.
![]() Read/Write - the entry can be viewed and modified.
Read/Write - the entry can be viewed and modified.
![]() Required - the entry is required to complete the form.
Required - the entry is required to complete the form.
![]() Read Only-Add - (only for entries of type Field) once a value is entered it cannot be changed, but new values can be added to the entry (e.g. Reviewer notes)
Read Only-Add - (only for entries of type Field) once a value is entered it cannot be changed, but new values can be added to the entry (e.g. Reviewer notes)
![]() Position - where the entry is located in the form.
Position - where the entry is located in the form.
![]() Repeat Count - Used with "Repeat end" and "End columns" to indicate how many values will be displayed.
Repeat Count - Used with "Repeat end" and "End columns" to indicate how many values will be displayed.
![]() Form Assistance - to define "fly over" text that will display over the entire row or column.
Form Assistance - to define "fly over" text that will display over the entire row or column.
![]() Field Control - to specify column styles (e.g., style='width:12em;') if needed to override the default.
Field Control - to specify column styles (e.g., style='width:12em;') if needed to override the default.
For more details about other style settings, review the Styles page
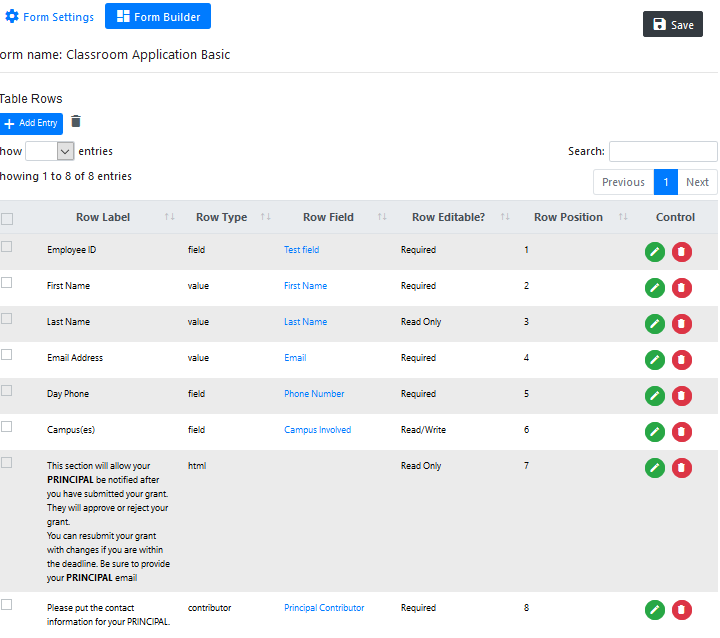
The screen below shows how several entries have been added to the form "Classroom Application Basic".
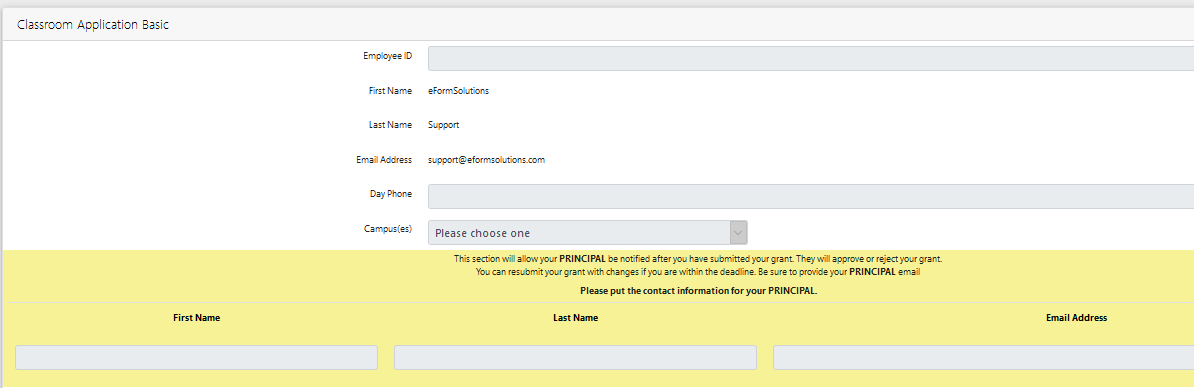
The form "Classroom Application Basic" just created would look like this:
STEP 3 - Add Additional Forms
If the form is a document composed of multiple forms, those can be created next in a similar manner. Just remember to link these new forms to the parent document, "Classroom Application Basic" in this case.
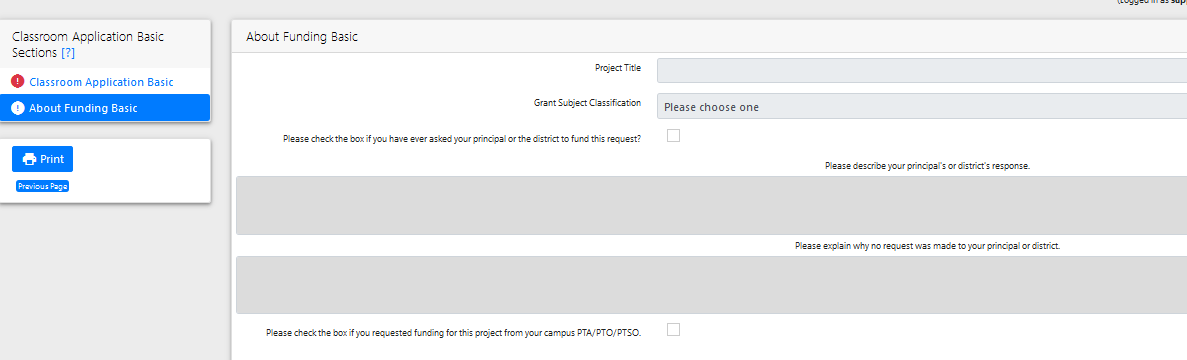
Let's assume that another form titled "About Funding Basic" is part of the "Classroom Application Basic" document. This new form would be added as follows.
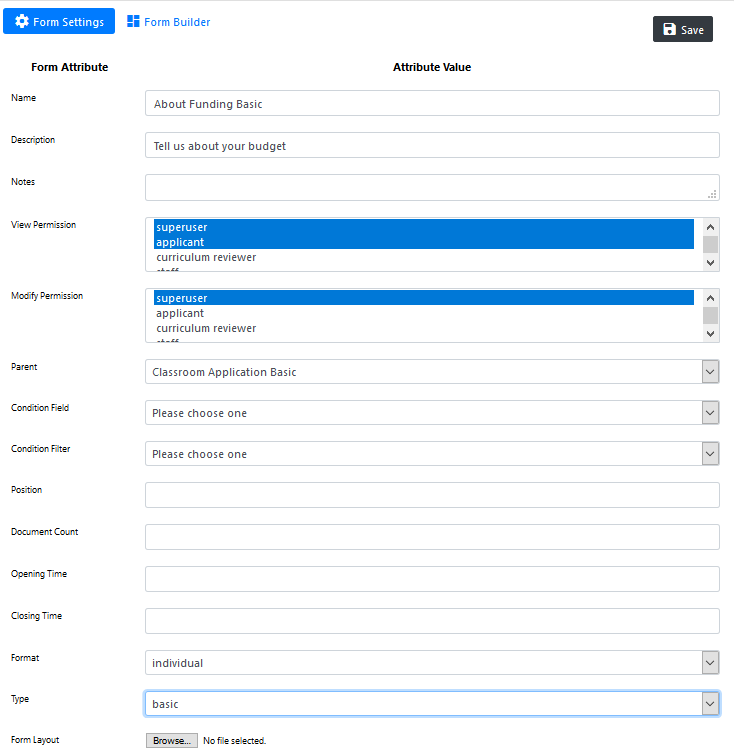
Notice that the Parent has been specified as "Classroom Application Basic". This will indicate that these two forms are part of the same document and will remain linked.
The entries for this form will be defined in the same manner as explained in Step 2 above. Once the entries are defined, the form would look like this. Notice that both sections are shown.
Step 3 can be repeated to continue adding forms to the document.